🎉 Introduction: Why You’ll Love This Cookie Monster Cake
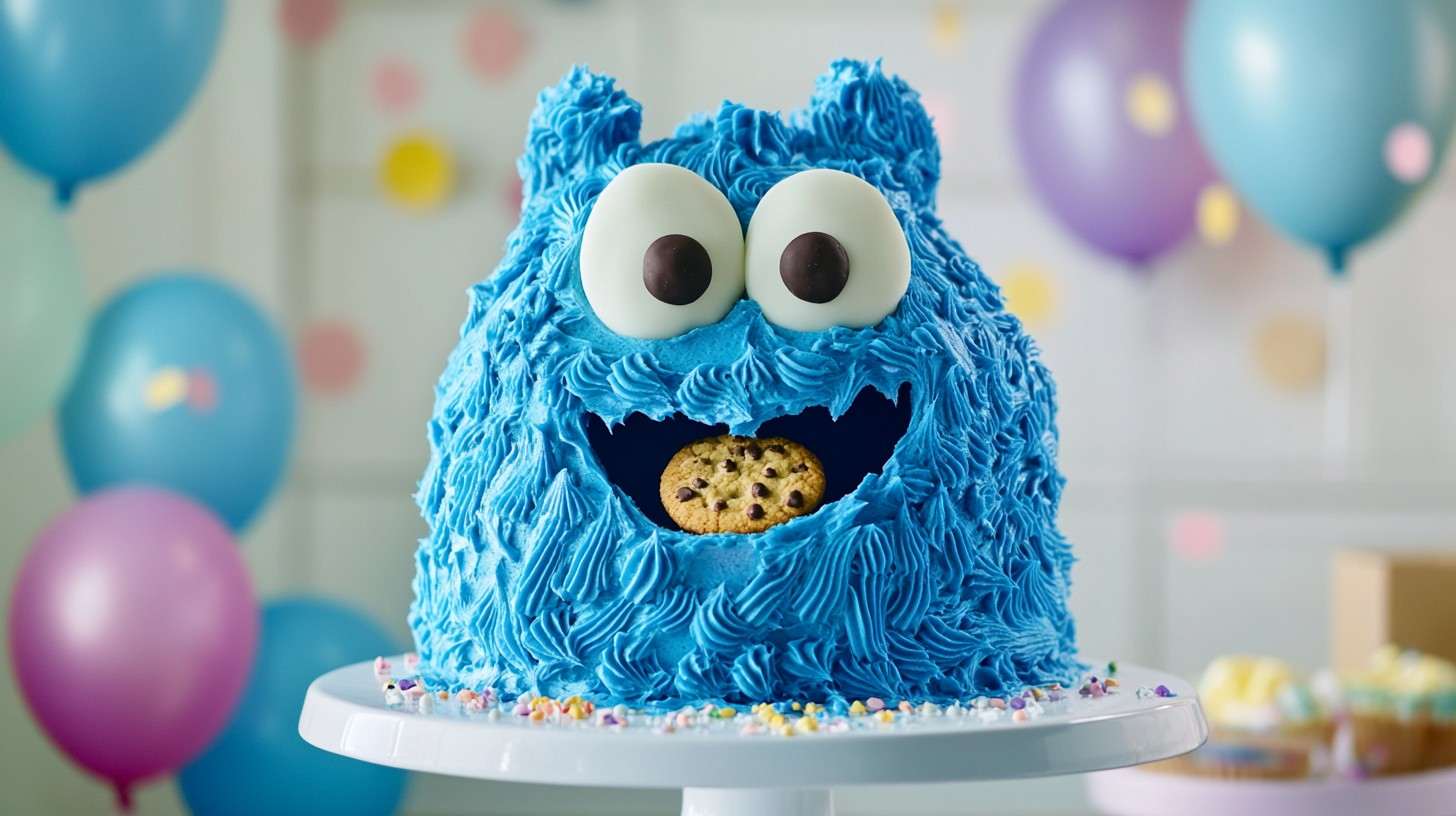
The Cookie Monster Cake is a fun and adorable dessert inspired by the beloved Sesame Street character. With its bright blue buttercream frosting, googly eyes, and plenty of cookies, this cake is guaranteed to bring smiles to kids and adults alike.
- Perfect for Special Occasions – Great for birthdays, baby showers, or Sesame Street-themed parties.
- Moist & Delicious – A light, fluffy vanilla cake that pairs perfectly with creamy buttercream.
- Fun & Easy to Make – Even beginners can achieve amazing results with simple decorating techniques.
🍰 What to Expect in This Recipe
- A step-by-step guide on how to bake the cake from scratch.
- How to make smooth, vibrant blue buttercream frosting.
- The best way to pipe Cookie Monster’s fur for a realistic look.
- How to make his googly eyes and signature cookie mouth.
- Storage tips and fun variations to customize your cake.
If you love Cookie Monster (or just love cookies and cake), this recipe is for you! 😍🍪
🎂 Cake Overview: What You Need to Know
- Prep Time: 30 minutes
- Cook Time: 40 minutes
- Cooling & Decorating Time: 60 minutes
- Total Time: ~2 hours, 10 minutes
- Serving Size: Makes a 2-layer 8-inch cake (serves 10-12 people)
💡 Skill Level: Beginner to Intermediate
📌 Tools Needed:
Edible black marker or melted chocolate for eyes
Two 8-inch round cake pans
Electric mixer (handheld or stand mixer)
Mixing bowls, spatula, and measuring cups
Piping bag with grass tip (Wilton #233) for fur texture
Offset spatula for frosting
📝 Part 2: Ingredients & Prep Work
Before we start baking, let’s go over the ingredients in detail. Using high-quality ingredients will make a big difference in flavor, texture, and overall success.
🥣 Cake Ingredients: What You’ll Need & Why

Dry Ingredients
- 2 ½ cups all-purpose flour – This provides structure. Use cake flour for a lighter texture.
- 2 ½ tsp baking powder – Helps the cake rise and stay fluffy.
- ½ tsp salt – Enhances the flavors and balances the sweetness.
Wet Ingredients
- 1 cup unsalted butter (softened) – Adds richness and moisture.
- 💡 Pro Tip: Use European-style butter (like Kerrygold) for extra creaminess.
- 2 cups granulated sugar – Sweetens the cake and helps with texture.
- 4 large eggs – Binds the ingredients together and adds structure.
- 1 tbsp vanilla extract – Adds depth of flavor. Use pure vanilla for the best taste.
- 1 cup whole milk – Keeps the cake soft and moist.
- 💡 Alternative: Use buttermilk for extra richness!
🧁 Buttercream Frosting Ingredients
The key to Cookie Monster’s fluffy blue fur is smooth, creamy buttercream frosting!
- 1 ½ cups unsalted butter (softened) – The base of our frosting.
- 5 cups powdered sugar – Adds sweetness and structure.
- 1 tbsp vanilla extract – Enhances the flavor.
- 3 tbsp heavy cream or milk – For a soft, spreadable texture.
- Blue gel food coloring – Creates Cookie Monster’s signature blue color.
- 💡 Important: Use gel-based food coloring (like Americolor or Wilton). Liquid food coloring can make the frosting runny.
👀 Decoration Ingredients (Cookie Monster’s Face!)

To make the eyes and mouth, you’ll need:
- 2 large white candy melts (or white fondant) – For the eyes.
- 2 small chocolate chips – For the pupils.
- Black edible marker or melted chocolate – To draw the pupils.
- Chocolate chip cookies – Whole and crumbled, for the mouth.
- 💡 Pro Tip: Use soft-baked cookies for an extra delicious look!
👩🍳 Prep Work Before Baking
✔ 1. Preheat Your Oven – Set it to 350°F (175°C) and make sure it’s fully heated before baking.
✔ 2. Grease and Line Cake Pans – Butter and flour two 8-inch round cake pans or line them with parchment paper.
✔ 3. Measure Ingredients Accurately – Baking is a science! Use a kitchen scale if possible.
✔ 4. Bring Butter, Eggs & Milk to Room Temperature – This ensures smooth mixing and an even bake.
✔ 5. Set Up Your Tools – Get your piping bags, mixer, spatula, and measuring cups ready to avoid last-minute stress.
Now that we have everything ready, we’re set to start baking!
If you’re ready, say “Yes” and I’ll continue with Part 3: Step-by-Step Cake Baking Instructions! 🎂🔥
Preheat the Oven & Prepare Cake Pans
✔ Preheat your oven to 350°F (175°C).
- This ensures even baking and a well-risen cake.
✔ Grease and line two 8-inch round cake pans.
- Coat the pans with butter or non-stick spray, then dust with flour.
- For extra insurance, place a parchment paper circle at the bottom.
💡 Pro Tip: If you want taller cake layers, use 6-inch pans instead. They will require a few more minutes of baking time.
If you’re looking for more whimsical cake ideas, you might love this Cotton Candy Cake with its light and fluffy texture, perfect for a fun party theme.
Mix the Dry Ingredients
- In a medium mixing bowl, whisk together:
- 2 ½ cups all-purpose flour
- 2 ½ tsp baking powder
- ½ tsp salt
This step ensures that the baking powder is evenly distributed for a nice rise.
Cream the Butter & Sugar
- In a large mixing bowl, beat together:
- 1 cup unsalted butter (softened)
- 2 cups granulated sugar
🔄 Mix for about 3-4 minutes on medium speed, until the mixture becomes light and fluffy.
💡 Why? Creaming butter and sugar incorporates air, making the cake lighter.
Add the Eggs & Vanilla
✅ Add 4 large eggs, one at a time.
- Beat well after each egg to ensure proper mixing.
✅ Add 1 tbsp vanilla extract.
- Mix again until fully incorporated.
💡 Pro Tip: Scrape down the sides of the bowl with a spatula to ensure everything is evenly mixed.
Alternate Adding Dry Ingredients & Milk
✔ Reduce mixer speed to low.
✔ Gradually add the dry ingredient mixture in three additions, alternating with 1 cup whole milk in two additions:
1️⃣ Add ⅓ of the dry ingredients → Mix lightly.
2️⃣ Add ½ of the milk → Mix lightly.
3️⃣ Add another ⅓ of the dry ingredients → Mix.
4️⃣ Add remaining ½ of the milk → Mix.
5️⃣ Add the last ⅓ of the dry ingredients → Mix until just combined.
💡 Important: Don’t overmix! Stop as soon as the ingredients are fully incorporated to keep the cake soft.
Bake the Cake Layers
- Evenly divide the batter between the two prepared cake pans.
- Smooth the tops with a spatula for even baking.
- Bake for 35–40 minutes, or until a toothpick inserted into the center comes out clean.
💡 Oven Variations:
- Start checking for doneness at 30 minutes if your oven runs hot.
- If the top browns too fast, lightly tent the cakes with aluminum foil.
Cool the Cakes Properly
- Let the cakes cool in the pans for 10 minutes, then run a knife around the edges to loosen them.
- Transfer cakes to a wire rack to cool completely (at least 30 minutes).
💡 Why? Cooling properly prevents the frosting from melting when decorating.
Making & Coloring the Blue Buttercream Frosting
Now that our cake layers are baked and cooling, it’s time to make Cookie Monster’s signature blue buttercream frosting! This frosting will be used to pipe his fluffy fur and cover the entire cake.
Gather the Buttercream Ingredients
For rich, creamy, and easy-to-pipe frosting, you’ll need:
- 1 ½ cups unsalted butter (softened)
- 5 cups powdered sugar
- 1 tbsp vanilla extract
- 3 tbsp heavy cream or milk
- Blue gel food coloring (not liquid)
💡 Why Gel Food Coloring?
- Gel-based coloring (like Americolor or Wilton) is concentrated and won’t thin out your frosting.
- Liquid food coloring requires a lot to get the same vibrant blue, which can make the frosting runny.
Beat the Butter Until Creamy
✔ Using a stand mixer or hand mixer, beat 1 ½ cups butter on medium-high speed for 2-3 minutes until it’s light and fluffy.
💡 Pro Tip: Start with room-temperature butter so it blends smoothly without lumps.
Add Powdered Sugar in Batches
- Reduce the mixer speed to low (to avoid a sugar explosion!).
- Slowly add 5 cups powdered sugar, one cup at a time.
- Beat after each addition until fully combined.
💡 Important: Scrape the sides of the bowl as you mix to ensure everything is evenly incorporated.
Add Vanilla & Heavy Cream for Smoothness
- Pour in 1 tbsp vanilla extract for flavor.
- Add 3 tbsp heavy cream or milk to thin the frosting slightly.
- Increase the mixer speed to medium-high and beat for 2 more minutes until smooth and fluffy.
💡 Texture Check:
- If the frosting is too thick, add a teaspoon of milk at a time until it reaches a spreadable consistency.
- If the mixture is too thin, gradually add more powdered sugar until the desired consistency is reached.
Add the Blue Food Coloring
- Start with a few drops of gel food coloring.
- Mix at medium speed until the color is evenly incorporated.
- Add more until you achieve Cookie Monster’s bright blue fur color.
💡 Pro Tip: If the frosting looks too light, let it sit for 10 minutes—the color deepens over time.
Prepare the Frosting for Piping
✔ Divide the frosting into two portions:
- 1/3 for crumb-coating the cake (thin layer).
- 2/3 for piping Cookie Monster’s fur.
✔ Transfer the fur frosting into a piping bag fitted with a grass tip (Wilton #233).
💡 What is a Grass Tip?
The Wilton #233 tip has multiple small holes, perfect for creating textured fur-like frosting. If you don’t have it, you can use a star tip, but the effect won’t be as fuzzy.
Cake Assembly & Decoration
Now that we have our moist cake layers and vibrant blue buttercream frosting, it’s time to assemble and decorate our Cookie Monster Cake! This is where the fun begins! 😍🍪
Level the Cake Layers (If Needed)
If your cake layers have domed tops, use a serrated knife or cake leveler to trim them evenly. This helps the layers stack neatly and prevents a lopsided cake.
💡 Pro Tip: If you want extra moisture, brush the cake layers with a simple syrup (equal parts sugar and water heated until dissolved).
Stack & Crumb Coat the Cake
- Place the first cake layer on a cake stand or turntable.
- Spread a thin layer of blue frosting evenly on top.
- Add the second cake layer and press down gently.
- Apply a thin layer of frosting all over the cake (crumb coat) to trap any loose crumbs.
💡 Why a Crumb Coat?
This step seals in crumbs, so they don’t mix into the final layer of frosting.
- Chill the cake for 15-20 minutes to let the crumb coat set.
Create Cookie Monster’s Fur
- Fill a piping bag with blue buttercream frosting fitted with a grass tip (Wilton #233).
- Pipe small “tufts” of frosting all over the cake, starting from the bottom and working your way up.
💡 Pro Tip:
- Use a dabbing motion to create fluffy fur texture.
- Adjust the length and direction of the strokes to create a more natural-looking fur texture.
Add Cookie Monster’s Googly Eyes
- Place two large white candy melts (or white fondant circles) on top of the cake for the eyes.
- Use melted chocolate or an edible black marker to draw pupils slightly off-center for that classic Cookie Monster expression.
💡 Alternative: You can also use large marshmallows sliced in half for the eyes.
Create Cookie Monster’s Mouth
- Take a large chocolate chip cookie and break it in half.
- Press one half into the front of the cake to make it look like Cookie Monster is eating it.
- Add crumbled cookies around the base for extra fun!
💡 Fun Variation: If you want an open-mouthed effect, cut a small semi-circle indentation into the cake before frosting.
Final Touches & Presentation
- Check for any gaps in the frosting and pipe more “fur” if needed.
- Chill the cake for at least 30 minutes before serving so the frosting sets.
- Decorate the cake stand or table with extra cookies for a fun touch!
👏 Congratulations! You’ve just made an epic Cookie Monster Cake! 🎂💙🍪
Frequently Asked Questions (FAQs)
1️⃣ Can I make this cake in advance?
Yes! You can bake the cake layers 1-2 days in advance and store them wrapped in plastic wrap at room temperature or in the refrigerator. The frosting can also be made ahead and stored in an airtight container in the fridge for up to 3 days.
💡 Pro Tip: Let the frosting come to room temperature before piping, and give it a quick mix to restore its fluffy texture.
2️⃣ What if I don’t have a piping bag or grass tip?
- No worries! If you don’t have a Wilton #233 grass tip, you can:
- Use a small star tip for a similar textured effect.
- Spread the blue frosting with a spatula and create a textured “fur” effect with the back of a spoon.
3️⃣ Can I make this cake with different flavors?
- Absolutely! While this recipe uses vanilla cake, you can try:
- Chocolate Cake – Perfect for a richer flavor.
- Cookies & Cream Cake – Mix crushed Oreos into the batter!
- Blue Velvet Cake – A fun twist on red velvet using blue food coloring.
4️⃣ Can I use store-bought frosting?
- You can, but homemade buttercream pipes better and tastes fresher. If using store-bought frosting:
- Add powdered sugar (½ cup at a time) to thicken it for piping.
- Mix in blue gel food coloring to get the right shade.
5️⃣ How do I make this cake nut-free or gluten-free?
- Nut-Free – This cake is naturally nut-free, but always check ingredient labels.
- Gluten-Free – Use a 1:1 gluten-free flour blend in place of all-purpose flour.
📦 How to Store & Freeze the Cake
Storing the Cake (Short-Term)
- Keep the cake covered in the fridge for up to 3 days.
- Let it sit at room temperature for 30 minutes before serving for the best texture.
Freezing the Cake (Long-Term)
- Unfrosted Cake Layers – Wrap them in plastic wrap and freeze for up to 2 months.
- Fully Decorated Cake – Freeze uncovered for 1 hour to set the frosting, then wrap in plastic wrap and freeze for up to 1 month.
💡 How to Thaw: Transfer the cake to the fridge overnight, then let it come to room temperature before serving.
🎨 Fun Variations & Customizations

🧁 Mini Cookie Monster Cupcakes
- Use the same batter to make cupcakes and decorate them individually with piped blue fur and tiny cookie pieces.
🍦 Cookie Monster Ice Cream Cake
- Swap one cake layer for a cookie dough ice cream layer!
- Freeze before decorating to keep it firm.
🍫 Cookie Monster Drip Cake
- Add a chocolate ganache drip around the edges for an extra indulgent look.
Pair your Cookie Monster cake with adorable Teddy Bear Cookies for a dessert table that’s as cute as it is delicious.
For a unique twist, consider serving some Rhubarb Cookies with your Cookie Monster cake – the tangy-sweet flavor makes a great contrast to the rich frosting.
🏆 Conclusion: Why You’ll Love This Cookie Monster Cake
- This homemade Cookie Monster Cake is:
- Fun & Eye-Catching – Perfect for birthdays, parties, and Sesame Street fans!
- Delicious & Moist – A fluffy vanilla cake with creamy buttercream.
- Customizable – Easily switch up the flavors and decorations.
Give this recipe a try and let me know how it turns out! Tag your cake photos with #CookieMonsterCake! 🎂💙🍪